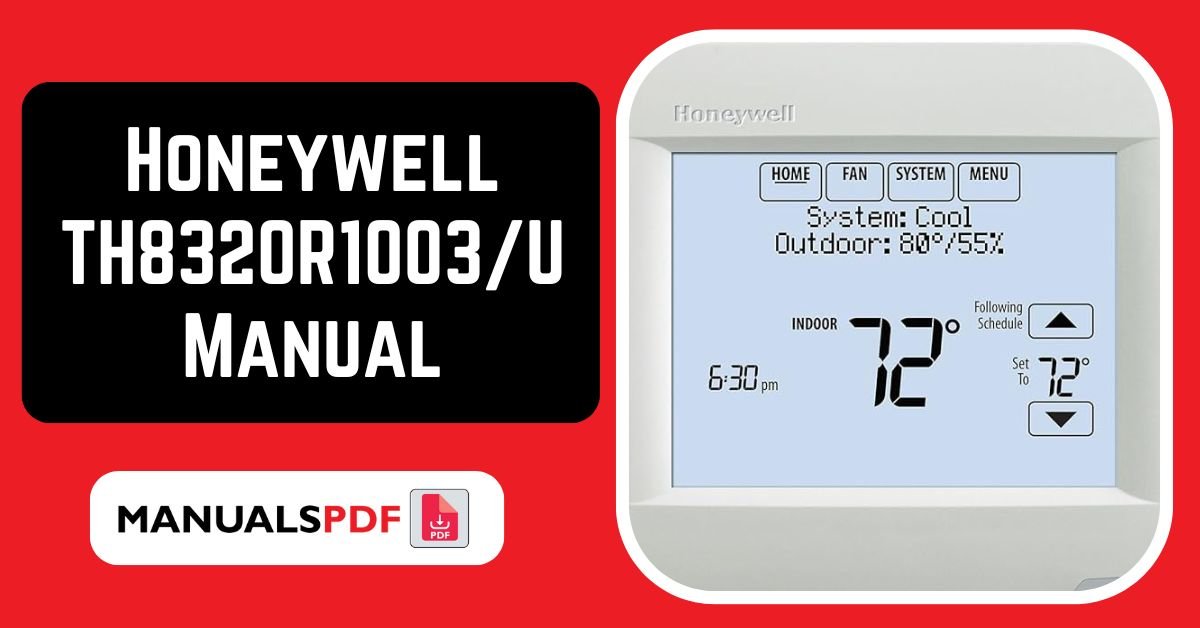
The Honeywell TH8320R1003/U programmable thermostat offers advanced features and control over your home’s comfort system. It is a high-performance programmable thermostat designed for residential use.
The complete manual for Honeywell TH8320R1003/U is displayed below.
Table of Contents
Honeywell TH8320R1003/U Manual PDF
Honeywell TH8320R1003/U Specification:
Power:
- Voltage: 24V AC.
- Source: Hardwired, needs a C-wire.
Compatibility:
- Systems: Works with most 24V heating and cooling systems, including single and multi-stage.
- Stages: Supports up to 2 stages of heating, 2 stages of cooling, plus 1 auxiliary heat stage.
Dimensions:
- Width: 5.8 inches (147 mm).
- Height: 4.8 inches (122 mm).
- Depth: 1.1 inches (28 mm).
Temperature Range:
- Heating: 40°F to 90°F (4°C to 32°C).
- Cooling: 50°F to 99°F (10°C to 37°C).
Accuracy: ±1°F (±0.5°C).
Mounting: Wall-mounted with included hardware.
Features:
- Backlit Display: Easy to read.
- Filter Change Reminder: Notifies you when it’s time to replace the filter.
Product Features:
Touchscreen Interface:
- Display: Color touchscreen for easy operation and navigation.
- Size: 4.3 inches (diagonal).
Programmable:
- Scheduling: 7-day programmable with customizable schedules for heating and cooling.
- Flexibility: Allows different settings for weekdays and weekends.
Smart Response Technology:
- Learning Capability: Adapts to your home’s heating and cooling patterns to optimize comfort and energy efficiency.
Wi-Fi Connectivity:
- Remote Access: Control your thermostat remotely via a smartphone app (requires a Wi-Fi connection).
Humidity Control:
- Monitoring: Displays and manages indoor humidity levels.
Dual Fuel Compatibility:
- System Management: Compatible with dual fuel systems, which include both heat pumps and auxiliary heat sources.
Auto Changeover:
- Mode Switching: Automatically switches between heating and cooling based on current temperature settings.
Energy Reports:
- Usage Insights: Provides energy usage reports and tips to help reduce consumption.
Find the product here.
Also Read: Honeywell TH6320U2008/U Manual PDF
Frequently Asked Questions (FAQs)
What is Honeywell RedLINK used for?
Wireless Communication: Connects thermostats and other HVAC components without needing extra wiring.
Remote Access: Allows you to control and monitor your HVAC system from a mobile app or online.
System Monitoring: Provides real-time data and diagnostics for easy maintenance.
Enhanced Comfort: Supports features like zoning and air quality control for better comfort and efficiency.
Easy Installation: Simplifies setup with wireless connections, reducing installation complexity.
How do I troubleshoot my Honeywell AC thermostat?
Check Power: Ensure the thermostat and AC are powered. Replace batteries if needed.
Inspect Wiring: Confirm all wires are connected and undamaged. Turn off power before checking.
Verify Settings: Make sure it’s set to “cool” mode and the temperature is lower than the room temperature.
Check C-Wire: Ensure the C-wire is connected if required.
Check Display: If the screen is blank, power cycle the thermostat (turn off power, wait, then turn back on).
Reset Thermostat: Perform a factory reset if other steps don’t work.
Clean: Dust off the thermostat with a soft brush or cloth.
Confirm Compatibility: Make sure your thermostat matches your HVAC system.
Consult Manual: Refer to the manual for specific troubleshooting steps.
Contact Support: If problems persist, reach out to Honeywell support or an HVAC technician.
How to set time on Honeywell 8000 thermostat?
Press Menu: Tap the Menu button on the screen.
Select Time: Navigate to “Time” or “Clock” and press “Select”.
Set Time: Use the arrow buttons to adjust the hour and minutes. Press “Select” to confirm.
Adjust AM/PM: If needed, set AM or PM and press “Select”.
Save and Exit: Press “Done” or “Save”, then Home to exit.
How do I set up my Honeywell indoor sensor?
Pick a Spot: Place the sensor in a central location, away from direct sunlight and drafts.
Insert Batteries: Put fresh batteries into the sensor, following the polarity markings.
Mount the Sensor: Use the included hardware or adhesive to attach it to a wall or place it on a flat surface.
Power On: Turn on the sensor if it has a power switch.
Pair with Thermostat: Go to your thermostat’s settings, find the option to add sensors, and follow the instructions to connect it.
Check Connection: Ensure the thermostat recognizes the sensor and displays the correct readings.
How do I reset my Honeywell room sensor?
Locate the Reset Button: Find the small reset button on the sensor. It’s usually located in the battery compartment or on the back of the device.
Press and Hold: Use a paperclip or a small pin to press and hold the reset button for about 5-10 seconds.
Release and Wait: Release the button and wait for the sensor to restart. It should blink or show some indication that it’s resetting.
Reinsert Batteries: If you removed the batteries, reinsert them after resetting.
Re-pair with Thermostat: If needed, follow your thermostat’s instructions to re-pair the sensor.

